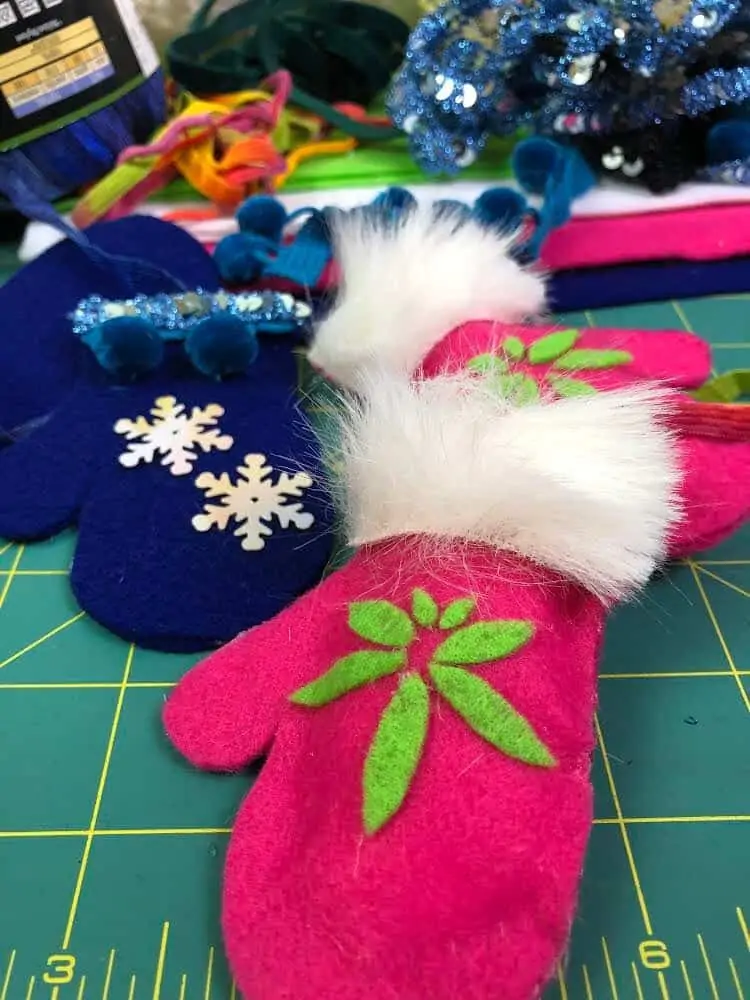
Blazing Holiday Mittens- What to Do to Make The Best 420 DIY Craft
Are you the most creative on 420? Here is a great little ornament to make your best “canna-buddies” or even for yourself! As we work to end the negative stigma around cannabis, I thought these classy little mittens would be a subtle way to introduce the plant that has improved so many lives in health and happiness into our holiday decor! Have fun experimenting with colors and ways to decorate.
These mittens would be “lit” on your tree as a garland or package toppers. Decorate some for the kids with buttons, snowflakes, or bells. The size can be adjusted easily, and you can think up your own shapes too! How about a stocking? As you get “highly” creative, remember to be careful of that hot glue gun! Have fun and don’t forget to share your pictures.
Table of Contents
Supplies
- Felt or Fleece (One mitten color and one leaf color)
- Faux Fur or Accent Trim
- Hot Glue Gun
- Paper or Cardstock
- Scissors (very sharp fabric scissors)
- Piece of Yarn
- Cotton Balls or Polyfill

How To Make Your Own Blazing Holiday Mittens
Steps
- If you have a printer, download the mitten pattern and leaf guide. Cut out the mitten and trace the shape onto heavier paper or cardstock. Old greeting cards work great. No printer? No problem. Cut out a 4” x 4” square of paper. Fold the square in half and again in half and crease the folds hard. Unfold and use the crease lines as grid marks to guide and draw the mitten shape. This is a great way for you to customize your mitten size.
- Cut 4 Mittens out from the felt or fleece that you choose. I think denim would look fun but the idea is to choose a fabric that doesn’t unravel and then it will look sewn when you glue them. Have fun trying scraps and always upcycle when possible.
- Print or take a look at the cannabis leaf guide. Cutting out a tiny cannabis leaf was pretty much impossible! The hack I found was to cut a rectangle strip of felt the height of the single leaf you want (Fig.1). From the strip, using sharp scissors, snip a canoe shape that resembles the shape you want. Snip a bunch and choose your favorite. Repeat this for each size. Use the shaded leaf (Fig.5) to lay out your snippets to help design your cannabis leaf. The felt is very forgiving thankfully!
- Time to glue! Run a thin line of hot glue around the outside edge of one mitten leaving the top wrist area free of glue. Sandwich a mitten piece on top and press together. Check the seams and make sure they glued tight.
- For the cannabis leaf, choose the “snippets” and carefully apply hot glue to each and place on mitten. Use a pair of tweezers to hold as you glue if needed to protect your fingers. Check to make sure they are secured. Please be careful with hot glue!
- Add some decorative trim on the top wrist side of each mitten. I had some faux craft fur I used. Use your imagination or even build a couple layers of matching felt up to look as if the mitten is folded down on top.
- I like the look of puffing up my mittens a bit so I gently stuffed mine with some cotton. Polyfill, cotton balls, scrap fabric or even a tissue will work. Be gentle and use the end of a pencil to help insert your fill. If you have any holes in the seams, place a dot of hot glue inside with a toothpick and secure.
- Add a piece of yarn or string, connecting the mittens by gluing the end in one corner of each. You decide how long.
Note: When printing the patterns be sure your printer is set to “print actual size” and not “fill page” if you want them small. Below you can find pictures of the patterns I’ve described!
Pattern

Pattern Downloads to Print


